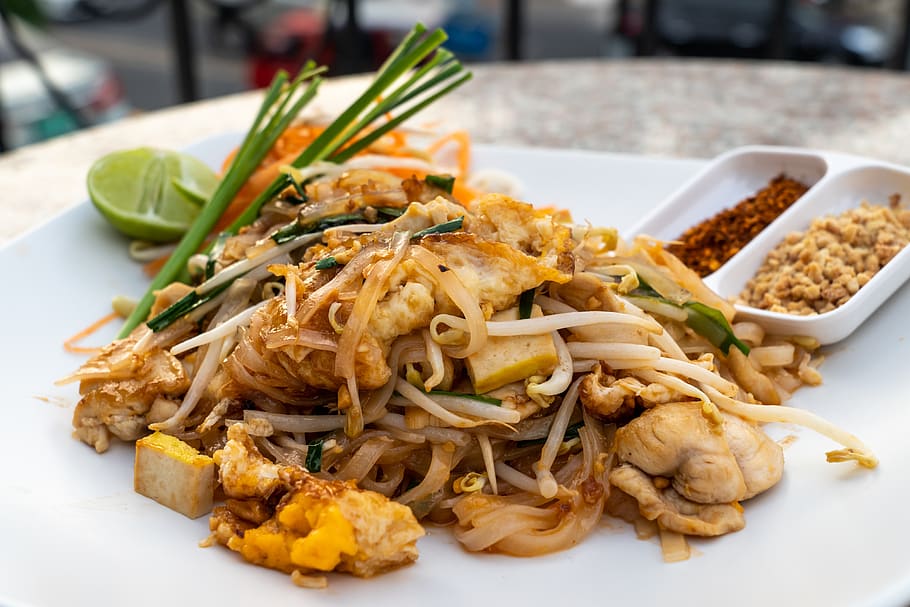
If you’re a fan of Thai cuisine, you’re in for a treat! Today, I’m sharing a recipe for Light Pad Thai that will take your taste buds on an unforgettable ride. Imagine the delicate balance of sweet, sour, and savory flavors, combined with the freshness of crisp vegetables and tender noodles. Get ready to experience a lighter, healthier, and equally delicious version of this beloved Thai classic.
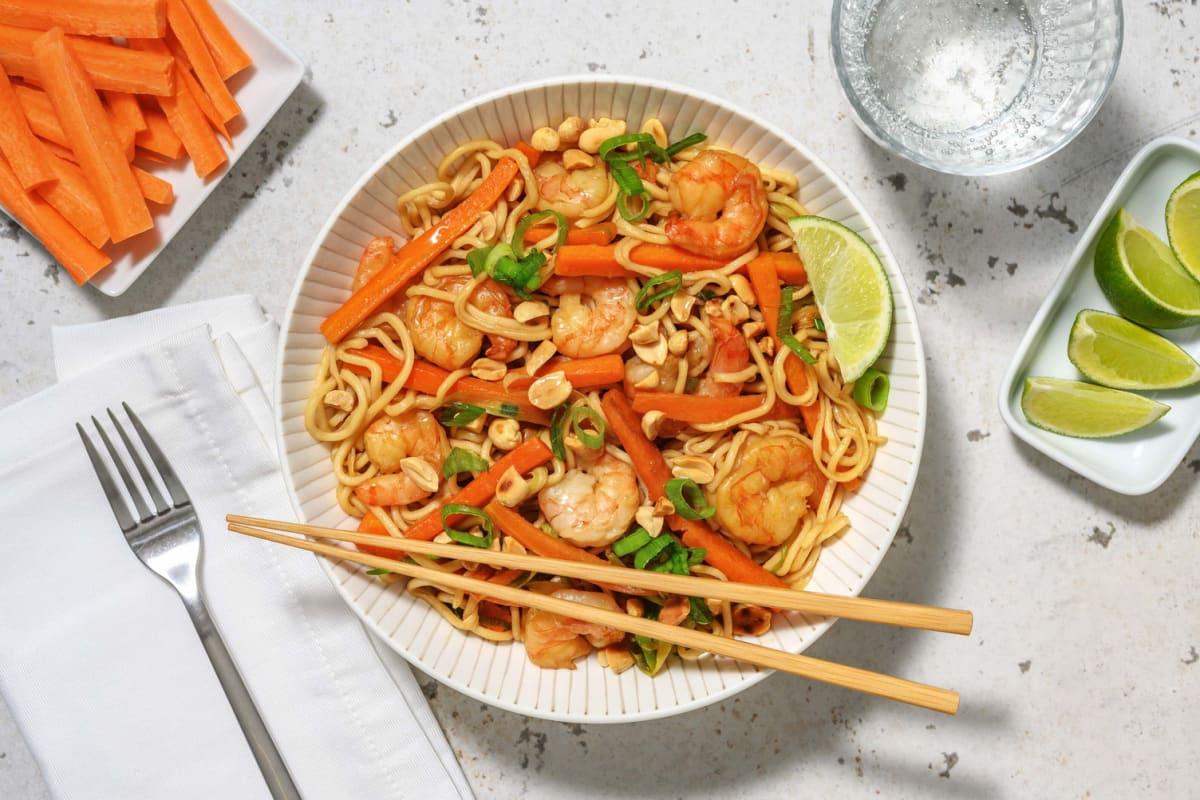
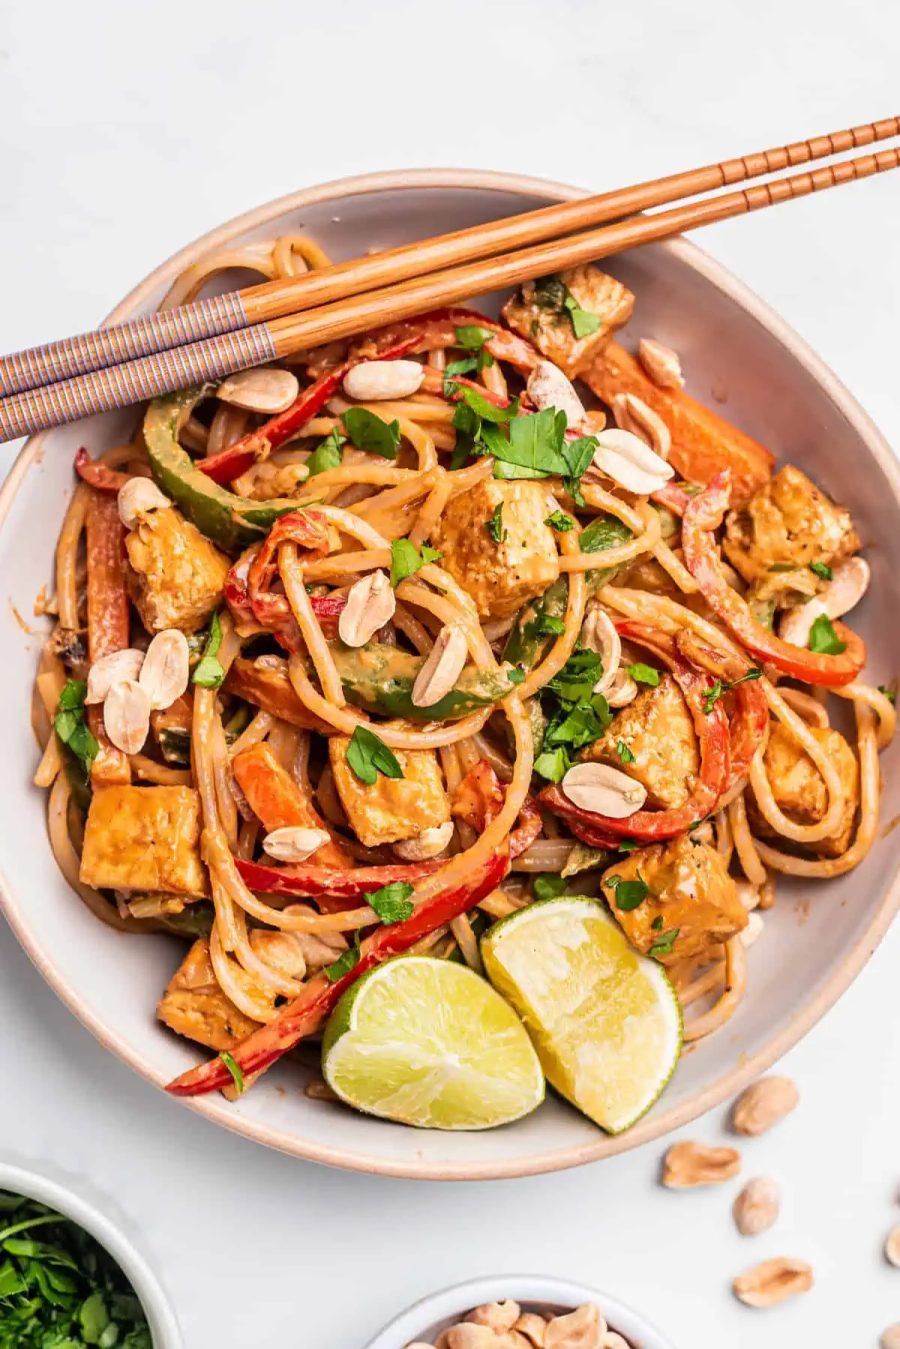
Light Pad Thai
Ingredients
Equipment
Method
- Cook noodles according to package directions. Meanwhile, whisk together the fish sauce, lemon juice, rice wine vinegar, tamari, sugar, and crushed red pepper in a small bowl and set aside.
- Heat the oil in a wok or large non-stick skillet over medium high heat. Add the chicken and cook for about 5 minutes (or just until chicken in longer pink). Add the green onions, garlic, and cooked drained noodles and cook for about 2 minutes longer.
- Add the shrimp and bean sprouts; cook just until shrimp turn opaque (about 3 minutes). Stir in the fish sauce mixture and toss to coat evenly. Cook for an additional 2 minutes to heat everything through.
- Arrange the noodle mixture on a large serving platter. Sprinkle with carrot, cilantro and chopped peanuts.
Video
Notes
Cooking Tips
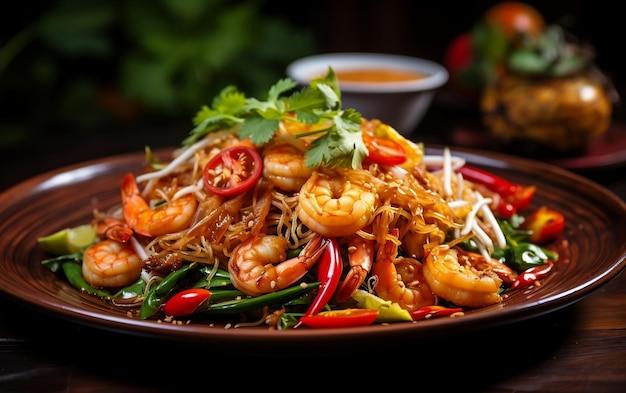
To ensure your Light Pad Thai turns out perfectly every time, here are some valuable cooking tips and insights to keep in mind:
Soak the Rice Noodles Properly:
Before cooking, soak the rice noodles in warm water until they are pliable but still firm to the touch. Over-soaking can result in mushy noodles, so be mindful of the soaking time mentioned in the recipe. Once soaked, drain and rinse the noodles with cold water to prevent them from sticking together.
Master the Stir-Fry Technique:
When stir-frying the ingredients, make sure your pan or wok is hot before adding the oil. This helps prevent the ingredients from sticking and ensures they cook quickly and evenly. Work in small batches, allowing each ingredient to cook before adding the next. This way, you’ll maintain their individual flavors and textures.
Don’t Overcook the Vegetables:
To retain the vibrant colors and crispness of the vegetables, avoid overcooking them. Stir-fry them just until they are tender-crisp, preserving their natural freshness and nutrients. Overcooking can result in limp and dull-looking vegetables.
Balancing the Sauce:
Achieving the perfect balance of sweet, sour, and savory flavors is key to an exceptional Pad Thai. Taste and adjust the sauce according to your preference. If it’s too sweet, add a bit more lime juice or tamarind paste. If it’s too tangy, balance it out with a touch of sugar or honey. Remember, balance is the key to a harmonious flavor profile.
Avoid Overcrowding the Pan:
To ensure proper heat distribution and prevent steaming instead of stir-frying, avoid overcrowding the pan. Give the ingredients enough space to cook and maintain their texture. If needed, cook in batches to maintain the integrity of each ingredient.
By following these cooking tips and tricks, you’ll be well on your way to creating a delicious and authentic Light Pad Thai that will impress your family and friends.
The Best Ways To Serve And Enjoy Light Pad Thai
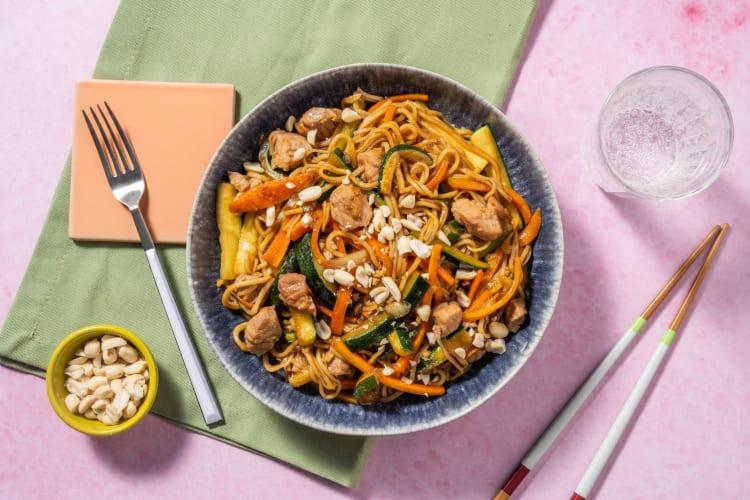
When it comes to serving Light Pad Thai, the possibilities are endless. Here are some suggestions to enhance your dining experience and make the most of this flavorful dish.
Recommended Sides, Garnishes, and Beverages:
To complement the vibrant flavors of Light Pad Thai, consider serving it with a side of steamed jasmine rice or quinoa. The fluffy texture and subtle fragrance of jasmine rice perfectly balance the tangy and savory notes of the dish. You can also add a refreshing touch by serving it with a side of crisp cucumber slices or a simple green salad.
Garnish your Light Pad Thai with a generous squeeze of fresh lime juice to add a burst of citrusy tang. Sprinkle some chopped cilantro, crushed peanuts, and thinly sliced green onions for added texture and visual appeal.
For beverages, opt for a cold and refreshing Thai iced tea or a zesty lemongrass-infused drink. These beverages complement the flavors of the dish and provide a delightful contrast to the spiciness of the Pad Thai.
Different Ways to Serve:
While Light Pad Thai is delicious on its own, you can explore different ways to serve it and create unique culinary experiences. Here are a few ideas:
- Wrap it up: Roll the Pad Thai in fresh lettuce leaves or rice paper wrappers to create refreshing spring rolls. Dip them in a tangy peanut sauce for an extra layer of flavor.
- Pad Thai bowls: Serve the Light Pad Thai over a bed of crunchy cabbage or spiralized zucchini noodles for a lighter and more vegetable-centric variation.
- Pad Thai salad: Transform the Pad Thai into a refreshing salad by tossing it with mixed greens, julienne carrots, and bean sprouts. Drizzle with a zesty dressing and garnish with chopped peanuts for added crunch.
- Pad Thai tacos: Fill soft tortillas with a generous portion of Light Pad Thai and top with pickled vegetables, fresh herbs, and a squeeze of lime. This fusion creation is sure to impress your guests.
Remember, these serving suggestions are just a starting point. Feel free to get creative and adapt them to your personal taste preferences.
FAQs
Can I make Light Pad Thai ahead of time?
Yes, Light Pad Thai can be made ahead of time. However, it is best enjoyed fresh to maintain its vibrant flavors and textures. If you need to prepare it in advance, we recommend cooking the noodles and stir-frying the vegetables separately. Store them in airtight containers in the refrigerator and assemble the dish just before serving. Keep the sauce separate and toss it with the noodles and vegetables just prior to serving to prevent them from becoming soggy.
Can I add meat or seafood to Light Pad Thai?
Absolutely! This dish can be customized to include your favorite proteins such as shrimp, chicken, tofu, or even thinly sliced beef. Cook the protein separately and add it to the stir-fried noodles and vegetables during the final step. Ensure that the protein is cooked through before incorporating it into the dish.
How do I store leftovers?
To store leftovers, transfer the dish to an airtight container and refrigerate it within two hours of cooking. Properly stored, it can be kept in the refrigerator for up to three days. When reheating, gently warm the Pad Thai in a pan or microwave, adding a splash of water or broth to prevent it from drying out. Note that the noodles may soften slightly upon reheating, but the flavors will still be delicious.
Can I make Light Pad Thai gluten-free?
Yes, Light Pad Thai can be made gluten-free by using gluten-free tamari or soy sauce instead of regular soy sauce. Additionally, ensure that the rice noodles you use are certified gluten-free. If you prefer a low-carb option, you can also substitute the rice noodles with zucchini noodles or other vegetable-based alternatives.
Can I freeze Light Pad Thai?
While it is possible to freeze Light Pad Thai, it is not recommended as the texture and flavors may be compromised upon thawing and reheating. The dish is best enjoyed fresh for the best taste and texture. If you do have leftovers that you don’t plan to consume within a few days, it’s better to store them in the refrigerator rather than freezing them.
Unleash your inner chef with our tantalizing Light Pad Thai recipe. From expert cooking tips to creative serving suggestions, we guide you through the process of creating a lighter and healthier version of this beloved Thai dish. Share the recipe and stay updated by subscribing to our blog.