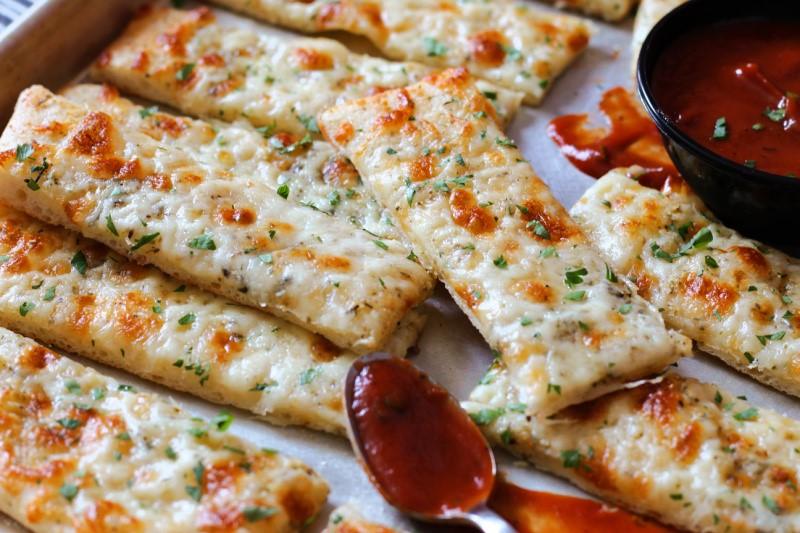
Get ready to experience a symphony of flavors with every bite of these easy Cheesy Breadsticks. Imagine sinking your teeth into warm, soft bread infused with melted cheese, topped with a hint of herbs and spices. Whether you’re a seasoned chef or a beginner in the kitchen, this recipe is guaranteed to impress and satisfy your taste buds.
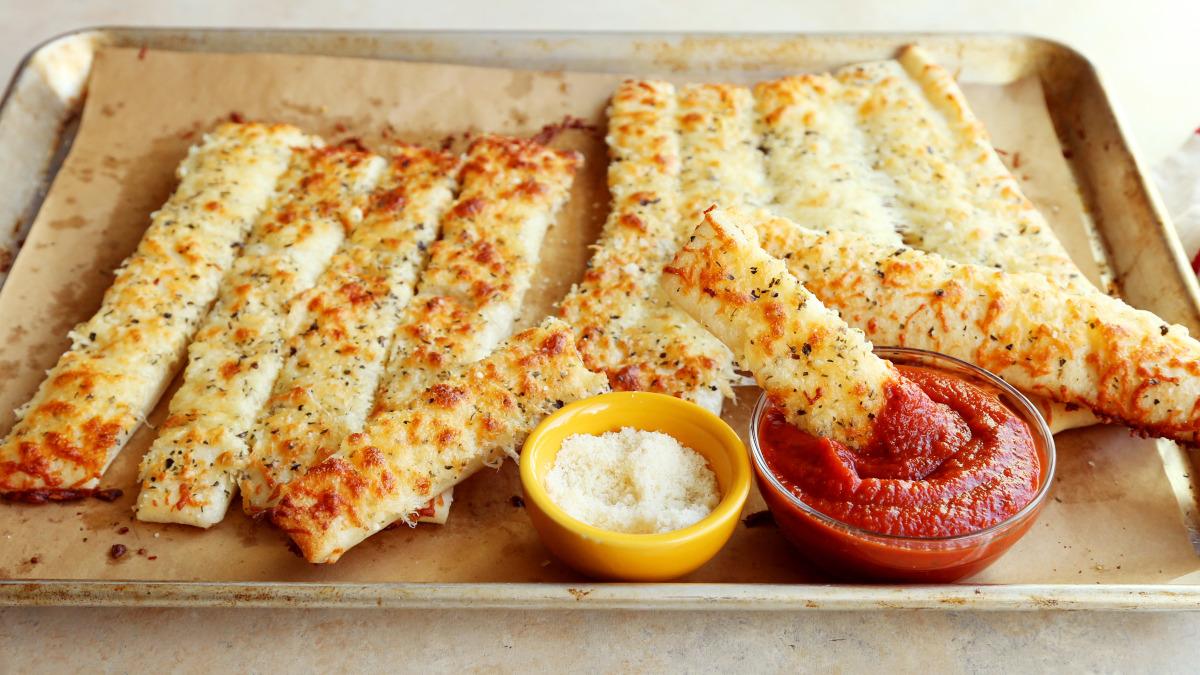

Cheesy Breadsticks
Ingredients
Equipment
Method
- Preheat the oven to 350 degrees.
- Drain the 1/4 cup of sundried tomatoes, reserving 2 teaspoons of the liquid. Finely chop the tomatoes and place them in a bowl along with the reserved liquid, the cheese,rosemary, pepper and water; set aside.
- Unroll the pizza dough and (working on a lightly floured surface) roll the dough into a rectangle about 10 inches by 8 inches in size. Spread the tomato mixture over half of the dough, and fold the other over to cover. Cut into 1/2 inch wide strips.
- Place the strips of dough 1 inch apart on an ungreased baking sheet and bake for 12 to 15 minutes, or until golden brown.
Video
Notes
Alternative Method: Making Cheesy Breadsticks in an Air Fryer
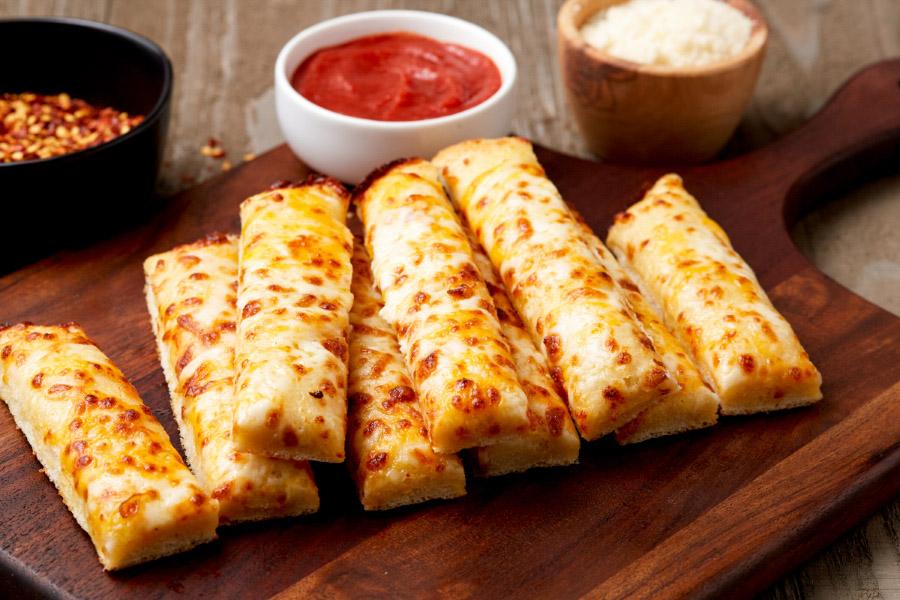
If you’re looking for a quick and efficient way to prepare Cheesy Breadsticks, utilizing an air fryer is an excellent choice. Follow this method to achieve crispy and cheesy breadsticks with a delightful golden exterior.
Ingredients:
- Pizza dough
- Mozzarella cheese, shredded
- Olive oil
- Garlic powder
- Dried oregano
- Marinara sauce for dipping
Instructions:
- Preheat your air fryer to 375°F (190°C) for a few minutes.
- Roll out the pizza dough on a lightly floured surface into a rectangular shape, about ¼-inch thick.
- Cut the dough into strips, approximately 1 inch wide.
- Sprinkle shredded mozzarella cheese evenly over each strip of dough.
- Carefully roll each strip, starting from one end, to form the breadstick shape. Press the ends to seal.
- Lightly brush the breadsticks with olive oil to help achieve a golden crust.
- Sprinkle garlic powder and dried oregano over the breadsticks for added flavor.
- Place the breadsticks in a single layer in the air fryer basket, leaving some space between each one.
- Cook the breadsticks in the air fryer for 8-10 minutes, or until they turn golden brown and crispy.
- Once cooked, remove the breadsticks from the air fryer and let them cool slightly before serving.
- Serve the Cheesy Breadsticks with marinara sauce for dipping and enjoy the crispy, cheesy goodness.
Note: Cooking times may vary depending on the brand and model of your air fryer, so keep an eye on the breadsticks as they cook to ensure they don’t burn.
Using an air fryer to make Cheesy Breadsticks provides a quicker cooking time and results in a crispy texture with a gooey cheese center. It’s a fantastic alternative method that allows you to enjoy this delectable dish with minimal effort.
Cooking Tips
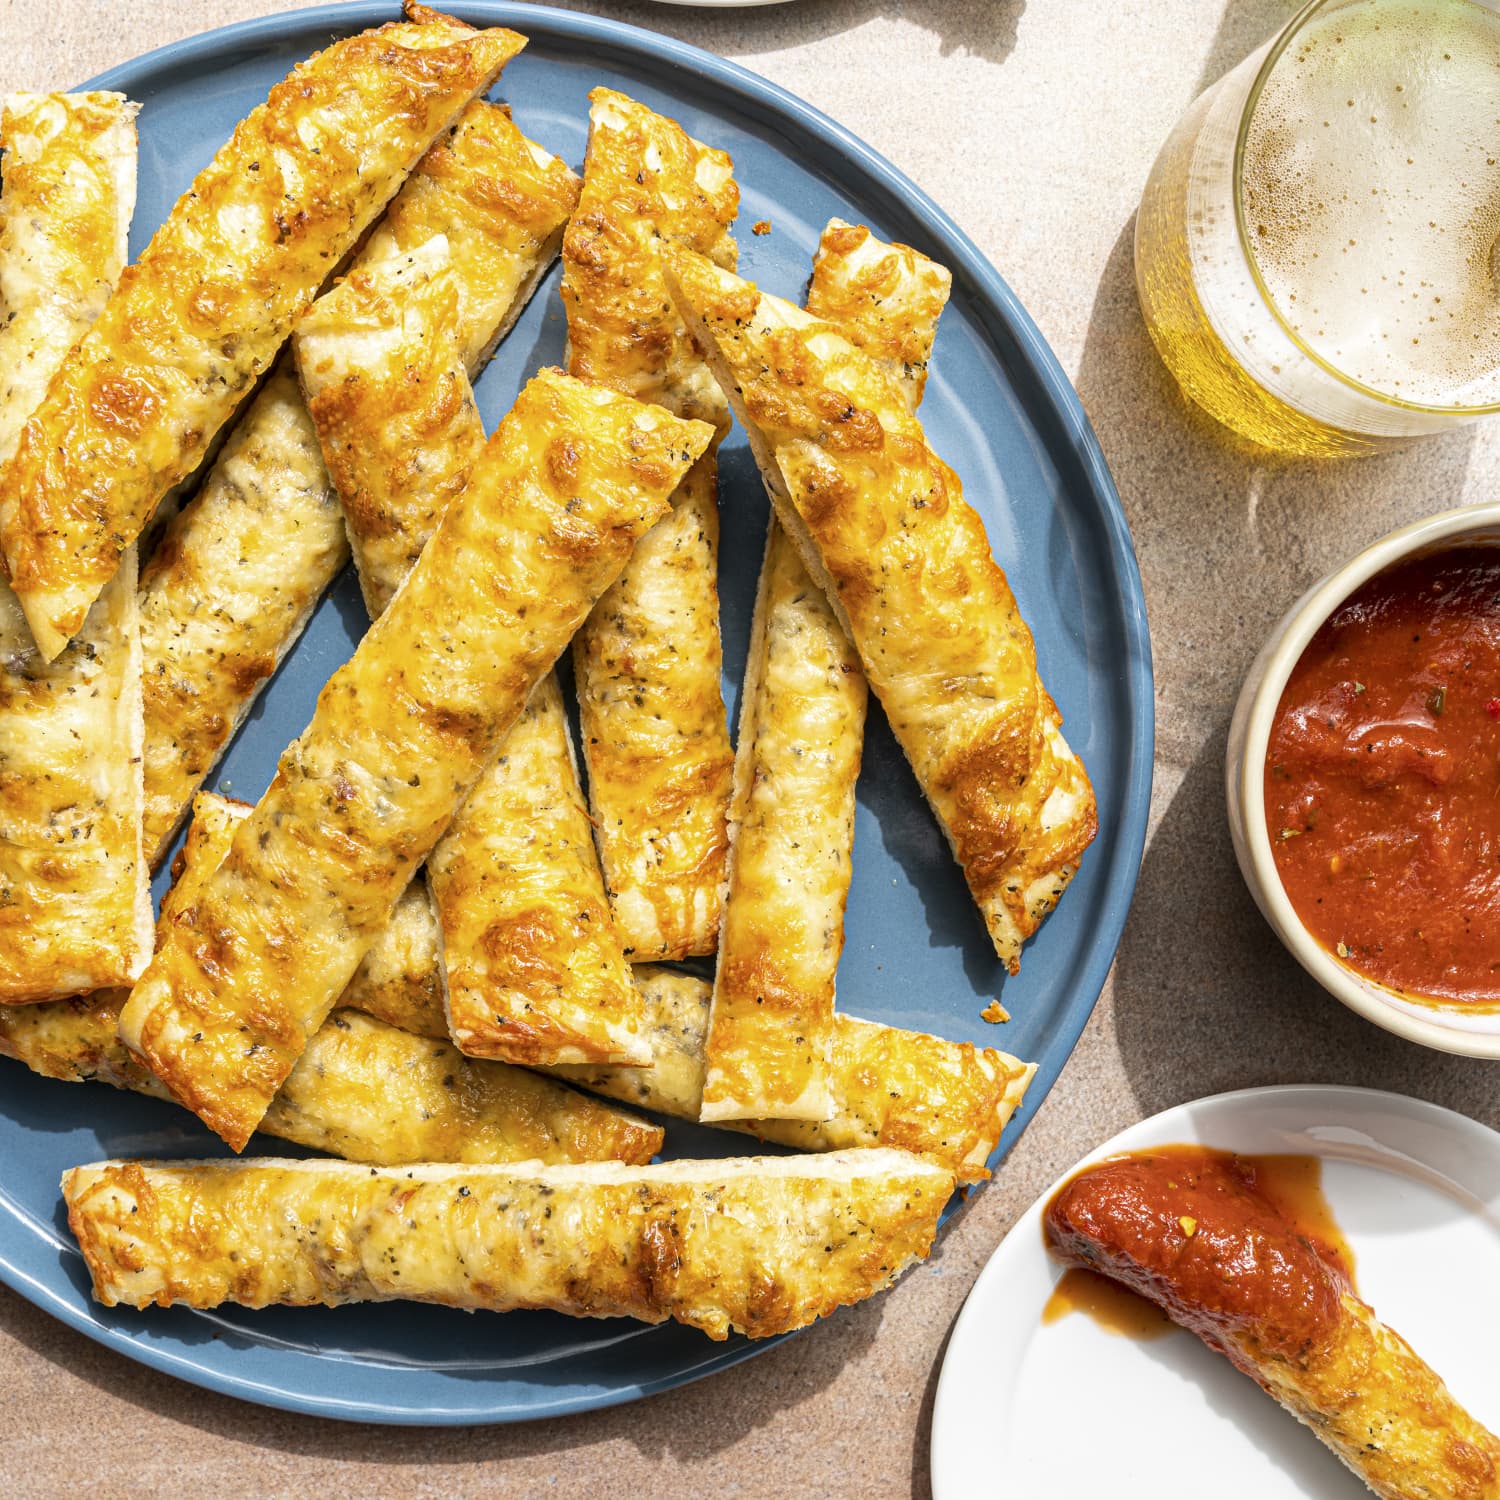
Mastering the art of making Cheesy Breadsticks requires a few expert tips and tricks. In this section, I’ll share some insights to ensure the best results and help you avoid common mistakes. Get ready to take your Cheesy Breadsticks to the next level.
- Use high-quality cheese: Opt for a good quality cheese that melts well, such as mozzarella or cheddar. Avoid using pre-shredded cheese as it may contain additives that can affect the texture and flavor of your breadsticks.
- Allow the dough to rise properly: To achieve light and fluffy breadsticks, make sure to give the dough enough time to rise. Follow the instructions for proofing and allow the yeast to work its magic, resulting in a perfect texture.
- Don’t over-knead the dough: While it’s important to knead the dough sufficiently to develop gluten, avoid over-kneading as it can lead to tough breadsticks. Stop kneading when the dough is smooth, elastic, and springs back when gently pressed.
- Brush with butter or oil before baking: For a golden and glossy finish, brush the breadsticks with melted butter or olive oil just before baking. This step adds flavor and helps achieve that irresistible crust.
- Bake at the right temperature: Preheat your oven to the specified temperature and place the breadsticks on a parchment-lined baking sheet. Bake them until they turn golden brown, ensuring they are cooked through without becoming overly dry.
Serving Suggestions
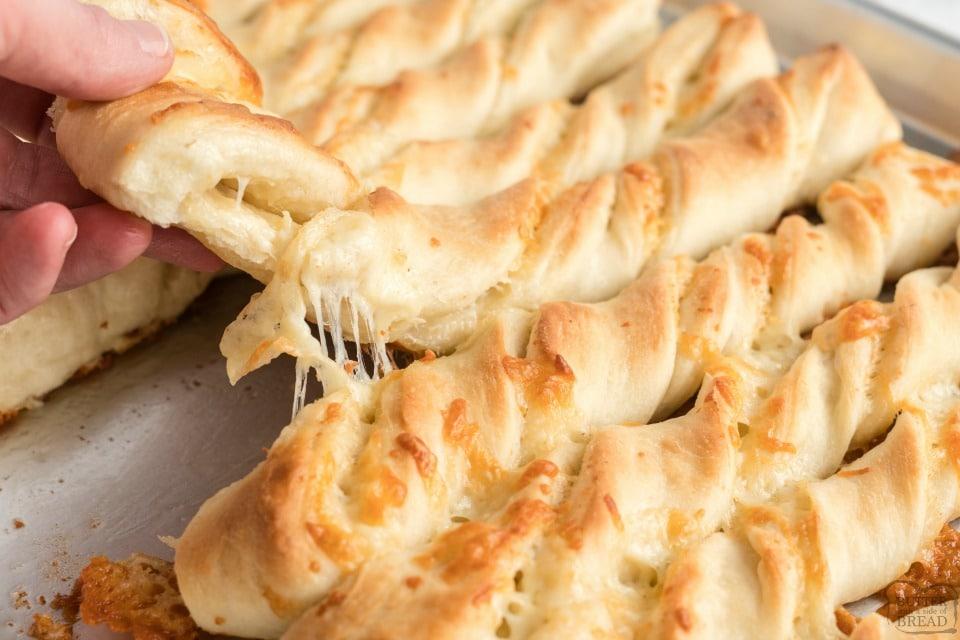
Cheesy Breadsticks are incredibly versatile and can be enjoyed in various settings. Whether it’s a casual get-together, a game night, or a family dinner, these breadsticks are sure to impress. Here are some serving suggestions to enhance your experience with this delightful dish.
- Perfect for parties and gatherings: Serve Cheesy Breadsticks as an appetizer at your next party or gathering. Arrange them on a platter and pair them with a selection of dipping sauces like marinara, ranch, or garlic aioli, allowing guests to customize their flavors.
- Family-friendly meal: Make Cheesy Breadsticks the star of a quick and easy weeknight dinner. Serve them alongside a fresh salad or a bowl of tomato soup for a comforting and satisfying meal that the whole family will enjoy.
- Game night snack: Elevate your game night with a platter of Cheesy Breadsticks. These handheld delights are perfect for munching while cheering on your favorite team. Serve them with a side of tangy salsa or spicy jalapeño dip for an extra kick.
- Brunch addition: Add a twist to your brunch spread by including Cheesy Breadsticks. Serve them alongside scrambled eggs, crispy bacon, and a selection of fresh fruits for a savory and delightful brunch experience.
- Movie night treat: Upgrade your movie night snacks with Cheesy Breadsticks. Cut them into bite-sized pieces and serve them with a variety of dipping sauces. They will be the perfect accompaniment to your favorite film.
FAQs
Here are some common questions you may have about Cheesy Breadsticks. I’ve got you covered with the answers and even some tips on how to store any leftovers. Let’s dive in!
Can I make the dough in advance?
Yes, you can prepare the dough in advance. After kneading and allowing it to rise, you can refrigerate the dough for up to 24 hours. When ready to bake, let the dough come to room temperature, shape it into breadsticks, and proceed with the recipe as instructed.
Can I freeze the breadsticks?
Absolutely! Once baked and cooled, you can freeze the Cheesy Breadsticks in an airtight container or freezer bag for up to 2 months. To reheat, simply place them in a preheated oven until warmed through.
How long do the leftovers last?
If you have any leftovers, store them in an airtight container at room temperature for up to 2 days. However, note that the breadsticks may lose some of their crispiness over time. To reheat, place them in the oven for a few minutes to regain their warmth and texture.
Can I use different types of cheese?
Certainly! Feel free to experiment with various types of cheese to create different flavor profiles. Try combinations like mozzarella and Parmesan, or cheddar and Gruyère. Just ensure the cheese melts well and complements the overall taste of the breadsticks.
Can I make gluten-free Cheesy Breadsticks?
Yes, you can make gluten-free versions by using a gluten-free flour blend or almond flour instead of all-purpose flour. Adjust the recipe accordingly, and keep in mind that the texture and taste may vary slightly.
In this delectable Cheesy Breadsticks recipe, discover the secrets to achieving golden, gooey perfection. With expert cooking tips and serving suggestions, you’ll be able to impress any crowd. Don’t forget to share the recipe and subscribe to our blog for more culinary inspiration.