Sometimes the most simple and uncomplicated foods are the ones that taste the best. Old Fashioned Buttermilk Pancakes have long been a favorite breakfast food – and they still can be! You can still enjoy this low calorie, low fat version of these delicious, fluffy buttermilk pancakes while staying on track with your healthy lifestyle.
Old Fashioned Buttermilk Pancakes
Ingredients
Equipment
Method
- Combine the flour, sugar, baking powder and baking soda in a large bowl and stir well to combine. In another bowl, mix the egg , buttermilk, oil and vanilla; whisk until well blended.
- Make a well in the center of the dry ingredients and pour the wet ingredients into the well. Mix until the batter is relatively smooth (you will have a few little lumps - that’s okay).
- If you would like fresh fruit in the batter, gently fold it in at this point.
- For each pancake, scoop about 1/4 cup of batter on to a hot griddle or nonstick skillet sprayed with cooking spray. Turn the pancakes when bubbles appear and edges are slightly cooked (about 1 1/2-2 minutes).
- Cook for 1-1 1/2 minutes on the second side. Keep already-made pancakes warm in a 200 degree oven while remaining pancakes are being cooked.
Video
Notes
Alternative Method: Electric Waffle Iron
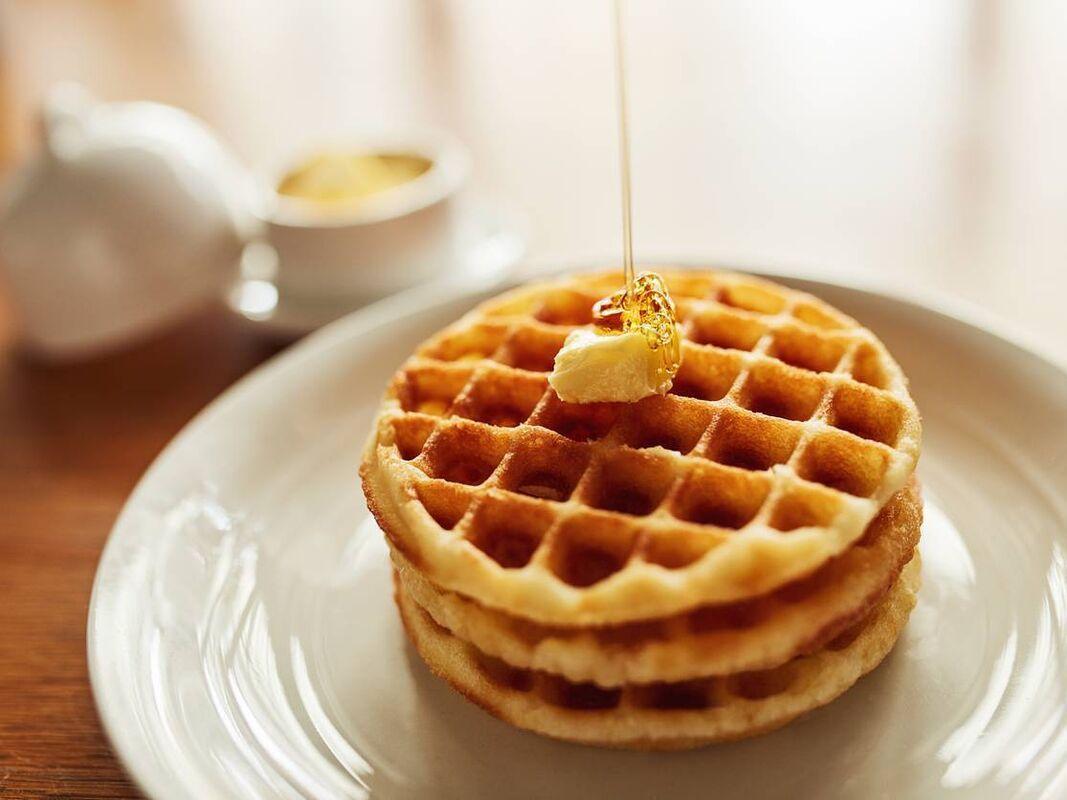
If you’re looking to switch things up and add a delightful twist to your buttermilk pancake experience, why not try making them using an electric waffle iron? The waffle iron will create a unique texture and crispy edges that will take your pancakes to a whole new level of deliciousness. Here’s how you can do it:
- Preheat your electric waffle iron according to the manufacturer’s instructions.
- Follow the same steps for preparing the buttermilk pancake batter as mentioned in the original recipe.
- Once the batter is ready, lightly grease the heated waffle iron with non-stick cooking spray or brush it with melted butter.
- Pour the pancake batter onto the preheated waffle iron, using the recommended amount specified by the waffle iron’s instructions. Close the lid and allow it to cook for the required time, typically around 3-4 minutes. The cooking time may vary depending on your waffle iron, so refer to the manufacturer’s guidelines.
- Carefully open the waffle iron and check if the pancake waffle is golden brown and crisp. If not, close the lid and cook for an additional minute or until the desired level of crispness is achieved.
- Gently remove the pancake waffle from the iron using a fork or silicone spatula. Repeat the process with the remaining batter, greasing the waffle iron as needed.
- Serve the pancake waffles warm with your favorite toppings, such as fresh berries, whipped cream, or a drizzle of maple syrup.
By using an electric waffle iron, you’ll create beautifully textured pancake waffles that are perfect for a fun and unique breakfast or brunch experience. Enjoy the crispy edges and fluffy centers, and let your taste buds savor the delightful combination of flavors.
Cooking Tips
:max_bytes(150000):strip_icc()/Buttermilk-Pancakes-FT-RECIPE1222-5589088e52c94e6f8a610b4393196fbb.jpg)
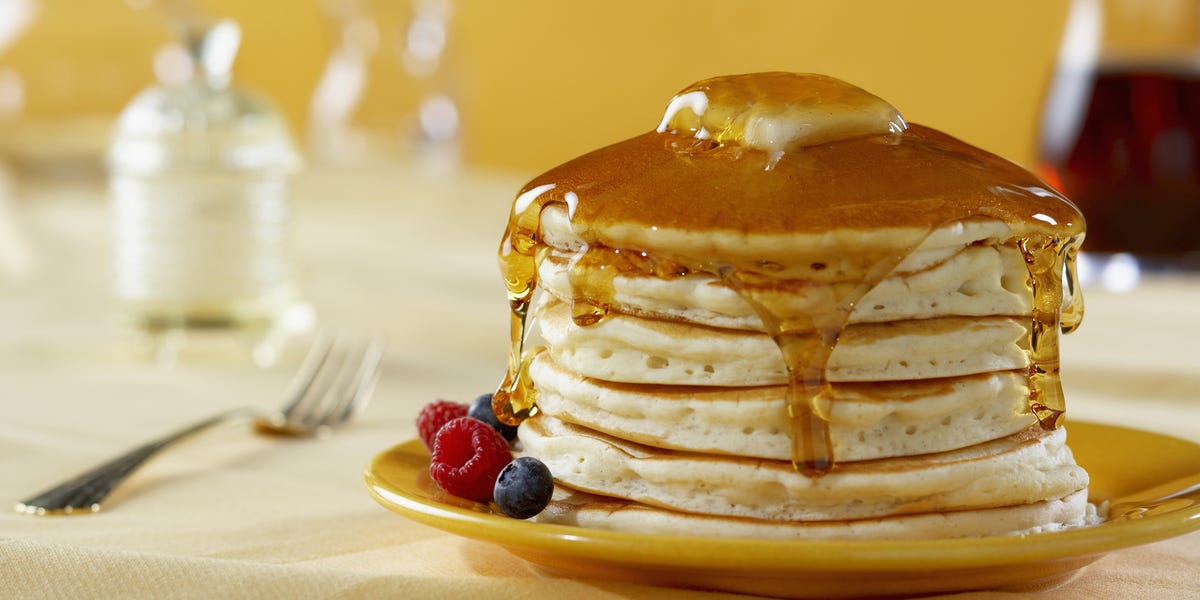
To ensure your Old Fashioned Buttermilk Pancakes turn out perfectly every time, here are some valuable cooking tips and tricks to keep in mind. We’ll also shed light on common mistakes to avoid, so you can achieve pancake perfection with ease.
- Use Fresh Ingredients: Start with fresh buttermilk, eggs, and baking powder for the best results. Using quality ingredients will enhance the flavor and texture of your pancakes.
- Don’t Overmix the Batter: Gently whisk the wet and dry ingredients together until just combined. Overmixing can result in tough pancakes, so a few lumps in the batter are absolutely fine!
- Let the Batter Rest: Allow the batter to rest for about 10 minutes before cooking. This resting period helps activate the leavening agents and allows the gluten to relax, resulting in lighter and fluffier pancakes.
- Adjust the Heat: Preheat your skillet or griddle over medium heat, and adjust the temperature as needed. Too high of heat can lead to burnt pancakes, while too low of heat may result in pale and undercooked ones. Aim for a golden brown color.
- Perfect the Flip: Wait until you see bubbles forming on the surface of the pancake and the edges starting to set before flipping. Use a wide spatula and a confident wrist flick to achieve a seamless flip. Practice makes perfect!
Serving Suggestions
:max_bytes(150000):strip_icc()/Old-Fashioned-Pancakes-SEO50-2256-c4bb42e70d434d608aa42ba7930b905a.jpg)
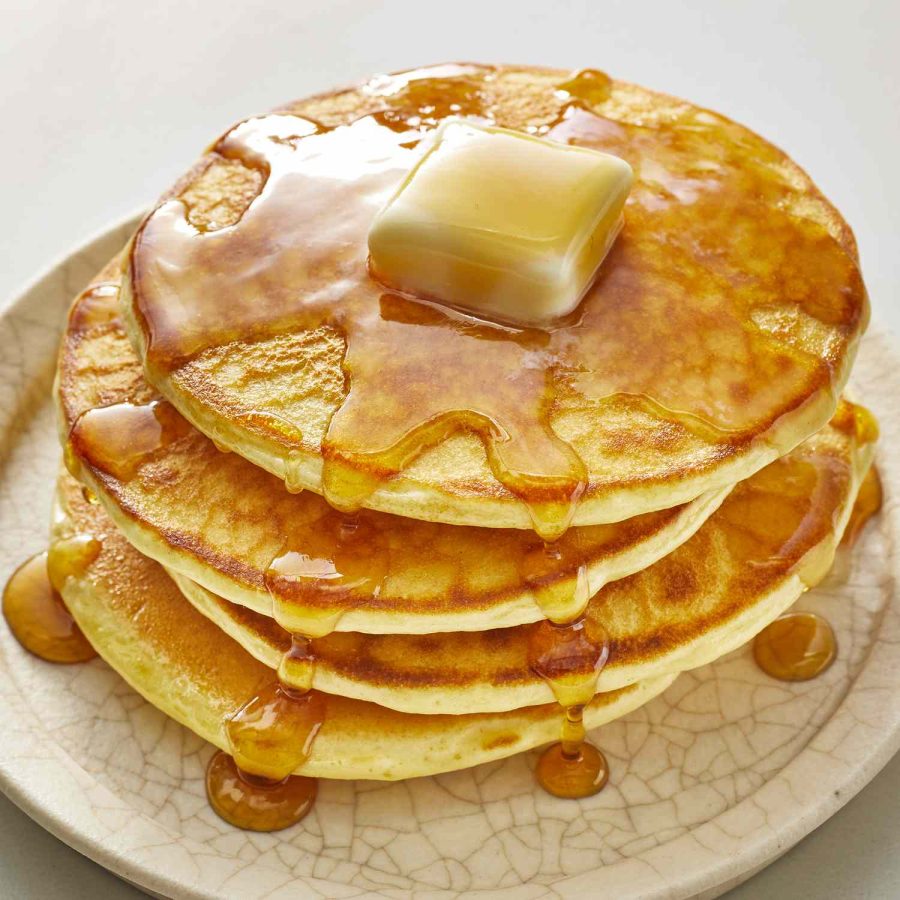
Now that your Old Fashioned Buttermilk Pancakes are ready, let’s explore some delightful ways to serve and enhance this breakfast treat. From delectable sides to tempting garnishes, these suggestions will elevate your pancake experience to new heights.
- Savor the Classics: Serve Old Fashioned Buttermilk Pancakes with a pat of butter and a drizzle of pure maple syrup for a timeless combination that never disappoints. The sweet and buttery flavors complement the tanginess of the pancakes perfectly.
- Fresh Fruit Medley: Top your pancakes with a medley of fresh seasonal fruits such as sliced strawberries, blueberries, or banana slices. The burst of juicy sweetness adds a refreshing element to each bite.
- Whipped Cream and Berries: Indulge your taste buds by adding a dollop of homemade whipped cream and a handful of mixed berries on top of your pancakes. The creamy richness and the vibrant fruitiness create a delightful contrast.
- Nutty Crunch: Sprinkle a handful of toasted nuts, such as chopped pecans or slivered almonds, over your pancakes. The added crunch and nutty flavors provide a delightful texture and depth of taste.
- Breakfast Delight: Create a complete breakfast experience by serving Old Fashioned Buttermilk Pancakes alongside crispy bacon or sausage links, scrambled eggs, and a side of roasted potatoes. It’s a hearty and satisfying meal to start your day off right.
FAQs about Old Fashioned Buttermilk Pancakes

Can I make the pancake batter ahead of time?
Absolutely! You can prepare the pancake batter the night before and store it in the refrigerator. Just give it a good whisk before using it the next morning.
How can I store any leftover Old Fashioned Buttermilk Pancakes?
If you have leftover pancakes, let them cool completely, then stack them with squares of parchment paper in between each pancake. Place them in an airtight container or sealable bag and store them in the refrigerator for up to 3 days. To reheat, simply pop them in the toaster or warm them in a preheated oven until heated through.
Can I freeze the Old Fashioned Buttermilk Pancakes?
Yes, you can freeze cooked pancakes for longer storage. Once cooled, place them in a single layer on a baking sheet and freeze until firm. Transfer the frozen pancakes to a freezer-safe bag or container, separating them with parchment paper. They can be stored in the freezer for up to 2 months. To reheat, thaw them in the refrigerator overnight and warm them in a toaster or oven.
Can I substitute buttermilk with another ingredient?
If you don’t have buttermilk on hand, you can create a substitute by adding 1 tablespoon of lemon juice or vinegar to 1 cup of milk. Let it sit for 5 minutes before using. The acidity will help mimic the tanginess of buttermilk.
Can I make the pancakes gluten-free?
Yes, you can make gluten-free pancakes by using a gluten-free all-purpose flour blend instead of regular flour. Be sure to check that all your ingredients, such as baking powder and any additional mix-ins, are also gluten-free. Follow the recipe as directed, making sure to adjust the liquid if needed, as gluten-free flours may absorb more moisture.
Elevate Your Breakfast with Buttermilk Pancakes: Dive into a world of pancake perfection as we share expert cooking tips and serving suggestions for the ultimate buttermilk pancake experience. From avoiding common mistakes to exploring creative toppings, this post will ensure your pancakes are a triumph. Join our community by sharing the recipe and subscribing to our blog for more culinary inspiration.